Step-by-Step Tutorial: How to Use Background Eraser Software Like a Pro
Step-by-Step Tutorial: How to Use Background Eraser Software Like a Pro
In today’s digital age, image editing has become an integral part of our lives. Whether you’re a professional photographer, a social media enthusiast, or just someone who wants to enhance their photos, background eraser software can be a valuable tool in your arsenal. Removing backgrounds from images can make your photos look more professional and eye-catching. In this step-by-step tutorial, we’ll show you how to use background eraser software like a pro.
Step 1: Choose the Right Background Eraser Software
Before you can start removing backgrounds from your images, you need to choose the right background eraser software. AI image cutout There are many options available, ranging from simple online tools to advanced desktop applications. Some popular choices include Adobe Photoshop, GIMP, Canva, and online tools like Remove.bg. Choose the one that suits your needs and level of expertise.
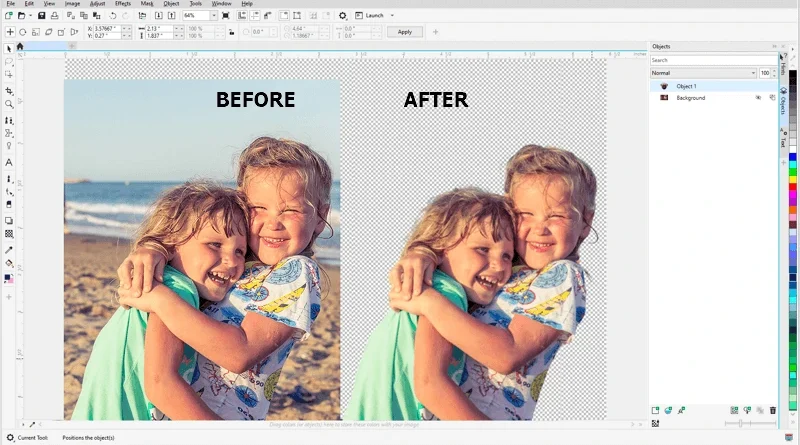
Step 2: Select Your Image
Once you have your background eraser software ready, select the image you want to work on. It’s a good practice to choose images with clear subjects and distinct backgrounds for better results.
Step 3: Duplicate the Image (Optional)
Before you start erasing the background, it’s a good idea to duplicate the image. This way, you’ll have a backup in case you make any mistakes during the editing process. Most software programs allow you to create duplicate layers or copies of your image.
Step 4: Use the Magic Wand or Selection Tool
In most background eraser software, you’ll find a selection tool like the Magic Wand or the Lasso tool. Use this tool to select the background you want to remove. Click and drag around the areas you want to delete. You can adjust the tool’s settings, such as tolerance and feathering, to make a more accurate selection.
Step 5: Refine Your Selection
Once you’ve made your initial selection, it’s time to refine it. Look for areas where the tool might have missed or areas where it included parts of the subject. Most software programs offer options like “Add to Selection” or “Subtract from Selection” to fine-tune your selection. Take your time to ensure the selection is as precise as possible.
Step 6: Invert the Selection
After you’ve selected the background, you’ll need to invert the selection to isolate the subject. This is usually done by going to the “Select” menu and choosing “Inverse” or a similar option. Now, the subject is selected instead of the background.
Step 7: Erase the Background
With the subject selected, it’s time to erase the background. Simply press the delete or backspace key on your keyboard, or use the “Delete” option in the software’s menu. The background will disappear, leaving your subject isolated.
Step 8: Clean Up the Edges
After erasing the background, you may notice that the edges of your subject look jagged or rough. To make your image look more professional, use tools like the brush, eraser, or blur tool to clean up the edges. This step requires a steady hand and patience, as it can be time-consuming, but it’s essential for a polished result.
Step 9: Add a New Background (Optional)
With the background removed, you have the option to add a new background to your image. This can be a solid color, a gradient, or even another image. Depending on the software you’re using, you can import and position a new background layer behind your subject.
Step 10: Save Your Edited Image
Once you’re satisfied with the result, save your edited image in the desired format. It’s a good practice to save your work in a format that supports transparency, such as PNG, so you can use your edited image in various projects without worrying about a white or colored background.
Step 11: Practice and Experiment
The key to becoming a pro at using background eraser software is practice and experimentation. Don’t be discouraged if your first few attempts don’t yield perfect results. Keep refining your skills, trying different techniques, and exploring the features of your chosen software.
Conclusion
Using background eraser software like a pro requires patience, attention to detail, and practice. By following these step-by-step instructions, you can start removing backgrounds from your images with confidence. Whether you’re editing photos for professional projects or personal enjoyment, mastering this skill can take your image editing abilities to the next level. So, choose your software, pick your favorite image, and start erasing backgrounds like a pro today!